How to Fix a Running Toilet with a Korky Repair Kit
Follow my Korky toilet tank rebuild, from removing the tank and replacing worn components to installing a new flush handle and testing the finished repair.
🛠️ Lowe’s Creator Disclosure: As a Lowe’s Creator, I may earn a commission from qualifying purchases made through Lowe’s links on this page, at no additional cost to you.
Start by finding out why the toilet is running
The parts inside the tank control how the toilet fills, stops filling, and releases water during a flush. A worn flapper or flush seal can let water leak from the tank into the bowl; a fill-valve problem or incorrect water level can send water into the overflow tube. Sometimes the handle or chain prevents the flapper from closing all the way.
If you’re already replacing several worn components, a compatible repair kit may be convenient. But check your toilet model and the kit’s contents first: universal doesn't mean every kit fits every toilet, and some repairs require only one inexpensive part.
Watch the Korky toilet repair video
See my Korky universal toilet repair and flush handle upgrade. Use the written guide below as a companion for common troubleshooting and installation steps, and refer to your specific kit's instructions for model-dependent details.
Turn off the toilet's water supply and flush to empty the tank. Keep a towel and small container nearby for leftover water. Porcelain can crack if hardware is overtightened; use hand-tight plus only the additional tightening specified by the manufacturer. If the supply shutoff leaks or will not fully close, stop and address it before disconnecting anything.
The repair, step by step
01 Inspect the existing tank components
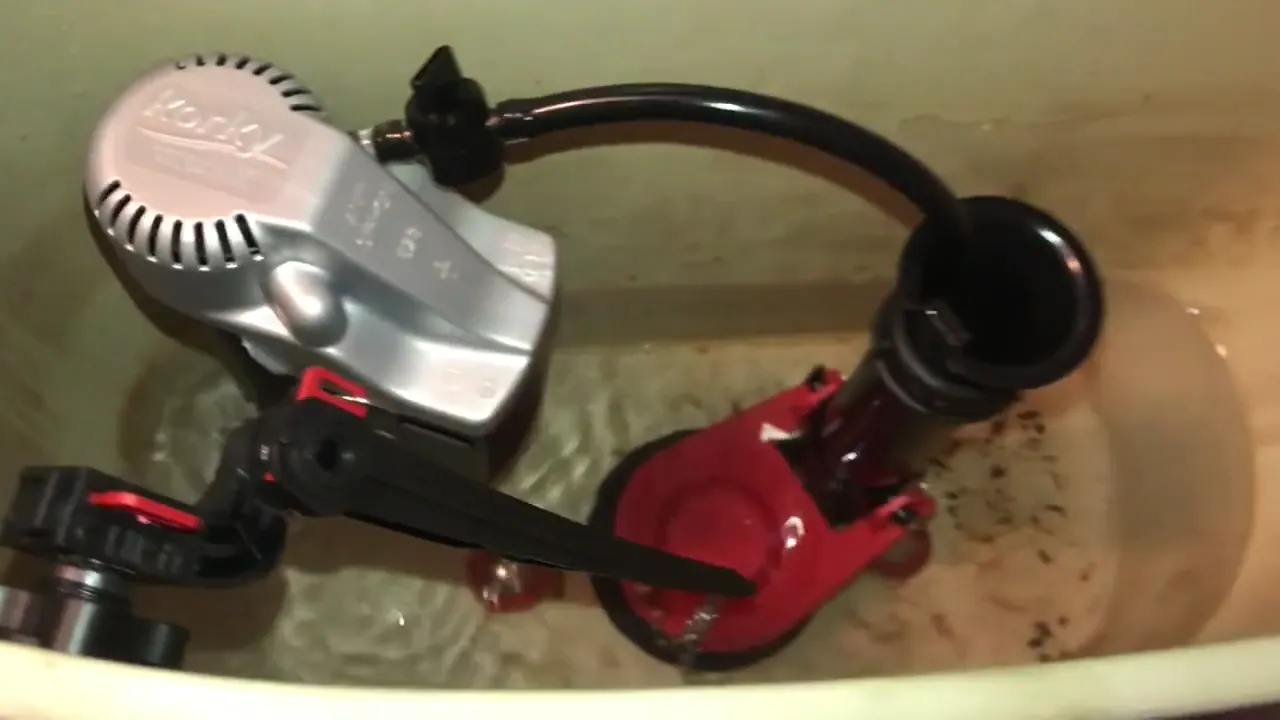
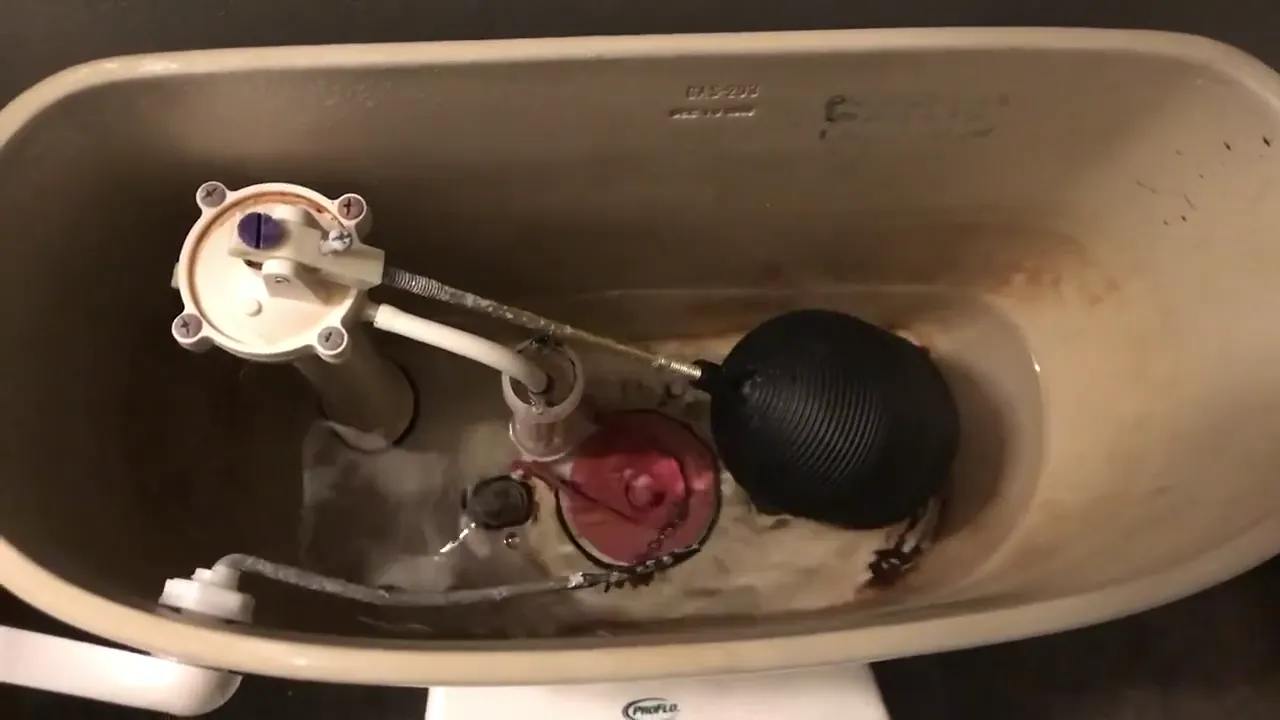
Start by carefully setting the tank lid aside and checking the fill valve, flush valve, flapper or seal, handle, and tank-to-bowl hardware. My video opens with the existing toilet and then shows the parts to be replaced. Different running-toilet symptoms can have different causes, so identify the problem and check the fit of your replacement kit before disassembling anything.
02 Shut off and disconnect the water
Close the toilet supply valve, flush to drain as much water as possible, and soak up the water left in the tank with a towel or sponge. Put a towel under the supply connection and carefully disconnect the water line. If the supply valve will not shut off, stop and address it before continuing.
03 Remove the tank to access the flush-valve assembly
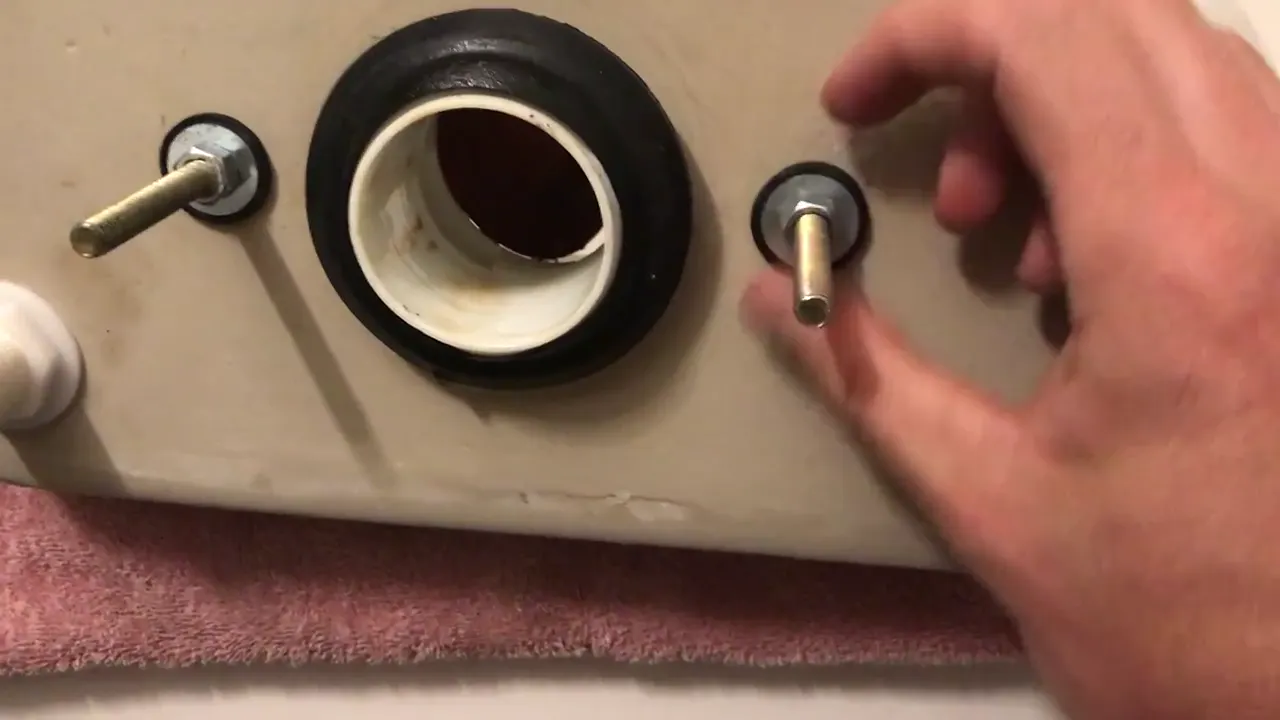
This project goes beyond a quick flapper change: the video shows the tank being separated from the bowl. Support the tank as you loosen its mounting hardware, then lift it onto a padded surface. Keep track of the washers and gaskets, and inspect the openings and sealing surfaces for damage. Porcelain is fragile, so avoid putting stress on the tank or overtightening hardware.
04 Prepare the Korky replacement parts
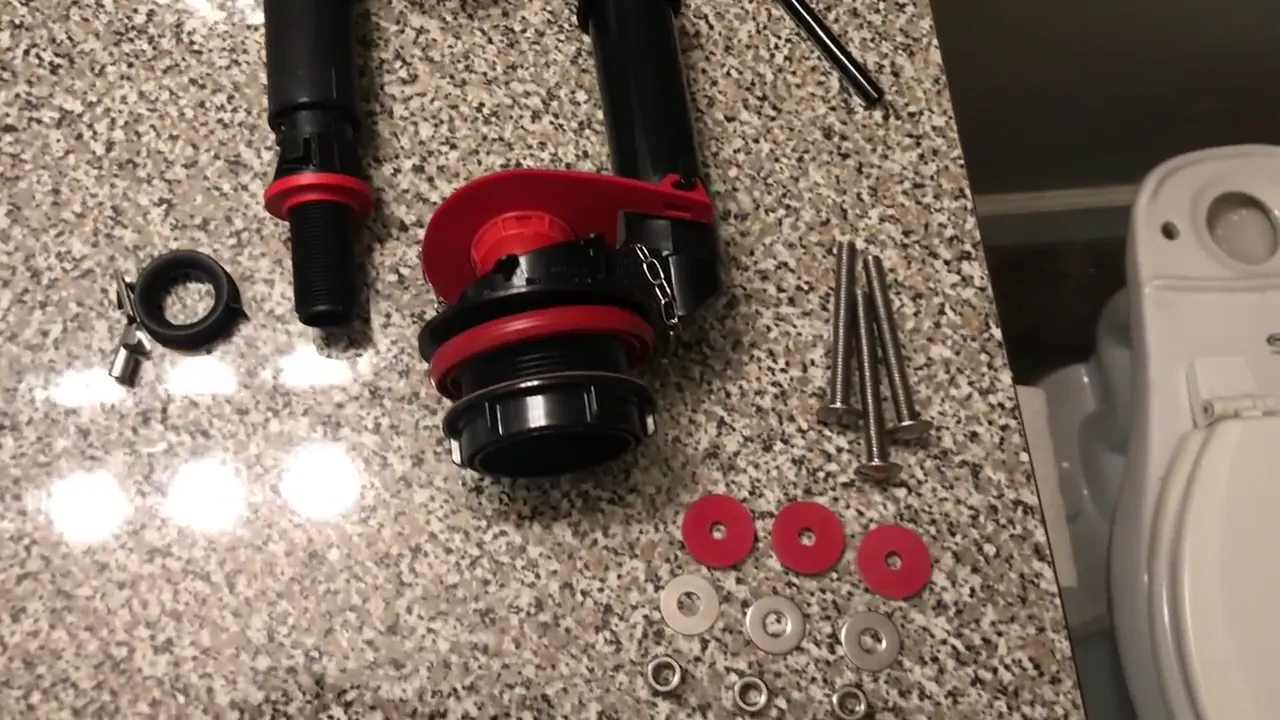
Lay out the new flush-valve and fill-valve components, gaskets, bolts, washers, and nuts. Compare them to your toilet's tank openings and read the instructions included with your exact kit. Washer orientation and gasket placement matter for a leak-free seal; don't rely on a generic diagram if your model differs.
05 Install the replacement flush-valve and tank hardware
The video shows the new flush-valve components being fitted to the tank, along with the replacement mounting hardware. Follow your kit's specified order for seals, bolts, and washers, making sure rubber gaskets sit flat against the correct surfaces. Tighten evenly and only as directed; overtightening can crack porcelain or distort a gasket.
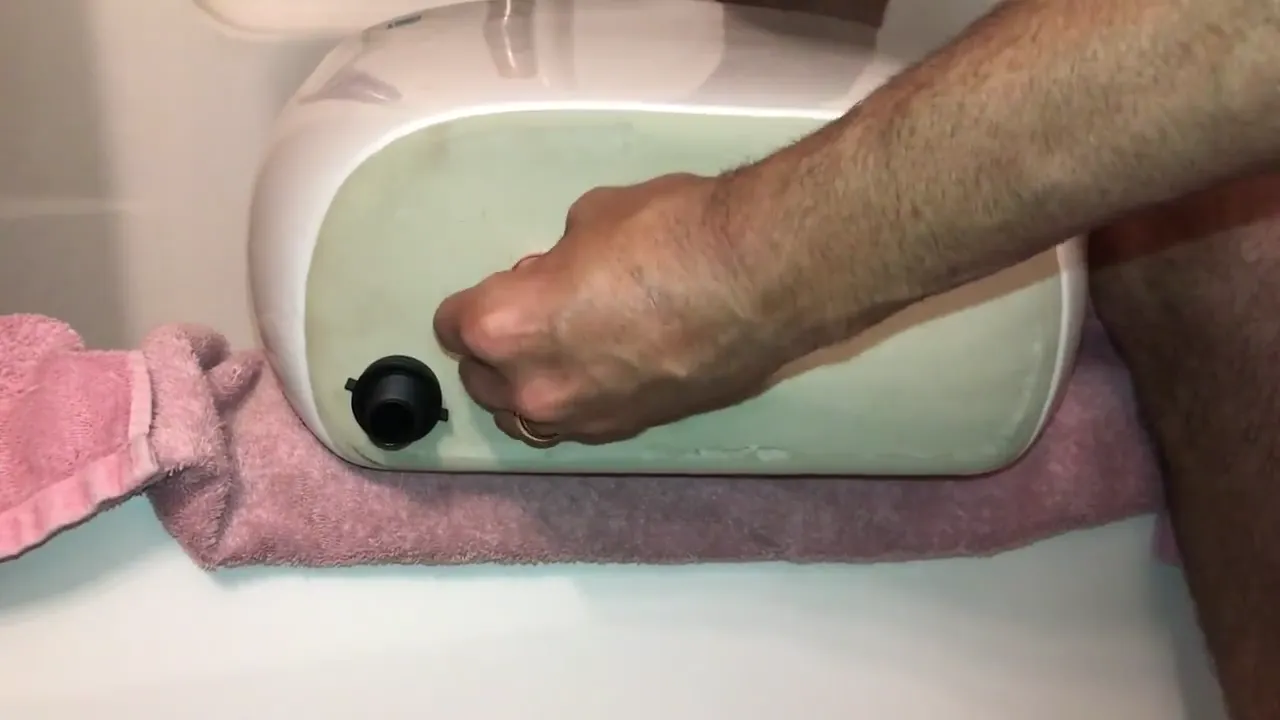
06 Reinstall the tank on the bowl
Position the new tank-to-bowl gasket correctly, lower the tank squarely onto the bowl, and tighten the mounting hardware gradually and evenly according to the toilet and kit instructions. The tank should sit securely without rocking. Reconnect the supply line carefully, avoiding cross-threading.
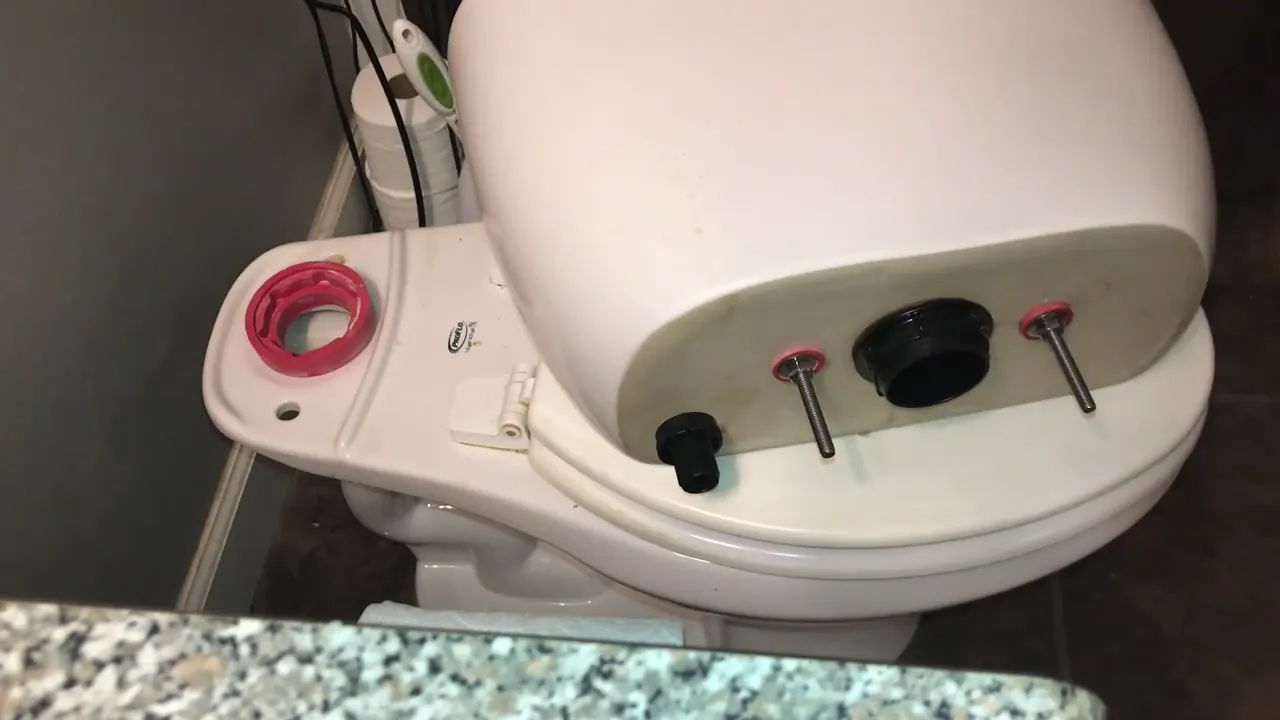
07 Install and adjust the fill valve
Fit the new fill valve and refill tube according to the Korky instructions, checking the tank's available height and the required refill-tube position. Set the water level to the toilet's marked waterline or the manufacturer-specified level. The refill tube should be clipped as instructed—not pushed down into the overflow pipe.
08 Upgrade and adjust the flush handle
The video also includes a flush-handle upgrade. Remove the existing lever, install the new handle in the correct orientation, and adjust the linkage so the flush valve operates freely. On some toilet handles the retaining nut has reverse threads, so check the new handle's instructions before forcing anything. Leave enough slack that the flush seal can close completely between flushes.
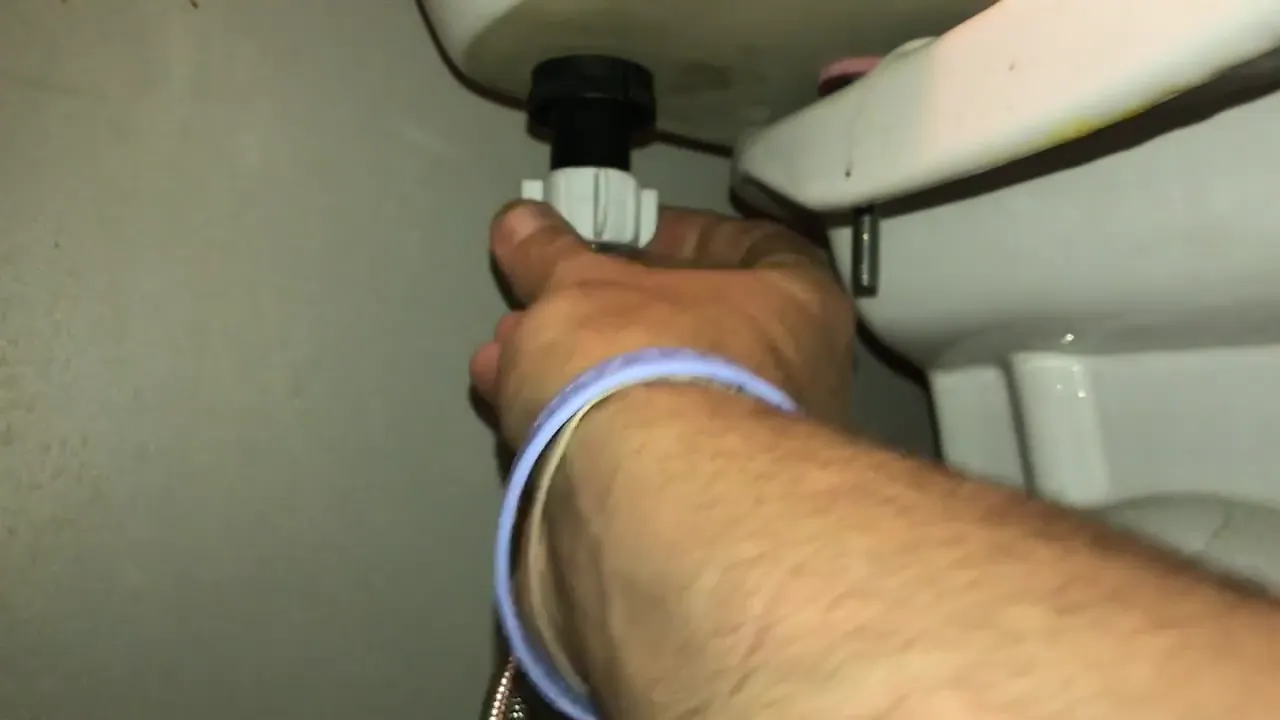
09 Turn the water back on and test for leaks
Open the supply valve slowly, allow the tank to fill, and check every connection—especially the supply line, fill-valve shank, mounting bolts, and tank-to-bowl gasket. Flush several times and watch that the flush seal closes, the water stops at the correct level, and the handle returns normally. Check the floor and connections again after the toilet has been used.
What I would check if it still runs
- Water flowing into the overflow: Check the fill level, float adjustment, and whether the fill valve fully shuts off.
- Intermittent refilling: Look for a slow leak through the flapper or flush seal. A few drops of food coloring in the tank, with no flushing, can help reveal a leak into the bowl.
- Handle sticks or flush is weak: Check lever clearance, chain slack, and compatibility with your flush-valve design.
- Water beneath the tank: Inspect supply connections and any disturbed seals. A tank-to-bowl leak is a different repair from a running toilet.
Common questions
Do I have to replace every part inside the toilet tank?
No. A worn flapper, incorrect chain length, or misadjusted fill valve may be the only issue. A multi-part kit makes more sense if several components are aging or malfunctioning.
Will a universal Korky kit fit my toilet?
Not necessarily. Confirm the toilet model, flush-valve size, and compatibility with the specific Korky kit. Two-inch and three-inch flappers are not interchangeable, and canister-style systems may need different parts.
Why does my toilet run for a few seconds and stop, then run again?
That often happens when water slowly escapes the tank through a worn or poorly seated flapper or seal, causing the fill valve to periodically top up the tank. Check the sealing surface and chain tension.
Why does the new flush handle feel tight?
Check the lever's position, tank-wall clearance, mounting tension, and chain length. Some toilet handle nuts have reverse threads—verify your part's instructions before adjusting.
How do I know the repair worked?
The tank should fill to the correct level, shut off completely, hold that level between flushes, and flush normally without leaks at the supply connection or tank.
Manufacturer installation help
Check Korky's installation instruction library for the specific kit, fill valve, flapper, and handle you purchased. Toilet designs and included parts vary.
I'm a DIY homeowner sharing my experience, not a licensed plumbing professional. The photos come from my repair video, but your toilet, included parts, and installation requirements may differ. Follow the instructions for your specific products and applicable local requirements.